As an event organizer, your Eventbrite listing page needs to stand out ✨. First impressions count, and your event page is often the first thing potential event-goers see.
And there are a lot of potential event-goers on Eventbrite. Last year, more than 200 million people searched for things to do on Eventbrite, with more than 90 million of those buying tickets to unique and local events around the world.
Your event page needs to be eye-catching and informative, capturing visitors’ interest and inspiring them to attend. That’s why we’ve rolled out new features for our event pages. Now it’s easier than ever to create a compelling listing that takes visitors from scoping out to checking out.
Read on to discover the new event-listing features, and how to set up a top-notch event listing page.
New features that enhance Eventbrite event pages
From headline to checkout, Eventbrite’s customizable event pages are designed to convert visitors into attendees by letting your attendees know what your event — and your brand — are all about. So understanding the components of an Eventbrite event page will help you build the best listing possible.
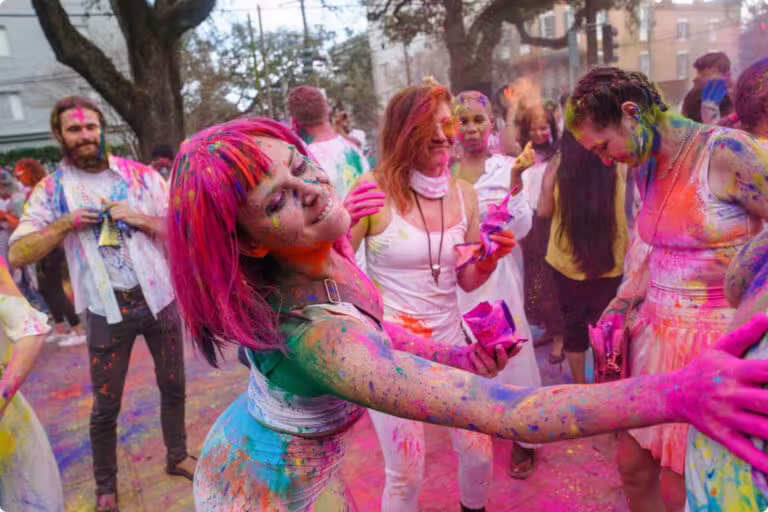
Every event page includes a main event image (you can populate up to 10 images!) or video to make your listing even more dynamic. You can link to a video hosted on YouTube or Vimeo, making it easier to communicate the vibe and feel of your event to attendees.
Our research has shown that, “82% of attendees prefer main event images that show an event’s vibe and atmosphere.” Compelling imagery gives visitors a glimpse of what they’ll experience at your event. Showcase the activity — but don’t forget the vibe. Pro tip: With Eventbrite’s Canva integration, including eye-catching, mood-evoking visuals is a breeze.
The summary on your event page is a short description of your event: think who-what-when-where. This appears at the top of your event page. Clear, concise copy is key.
Below that, the description adds details, and lets visitors know what to expect from your event. Featured guests or sponsors? Include that here.
To take your event listing to the next level, add these new sections, which will help attendees purchase tickets.
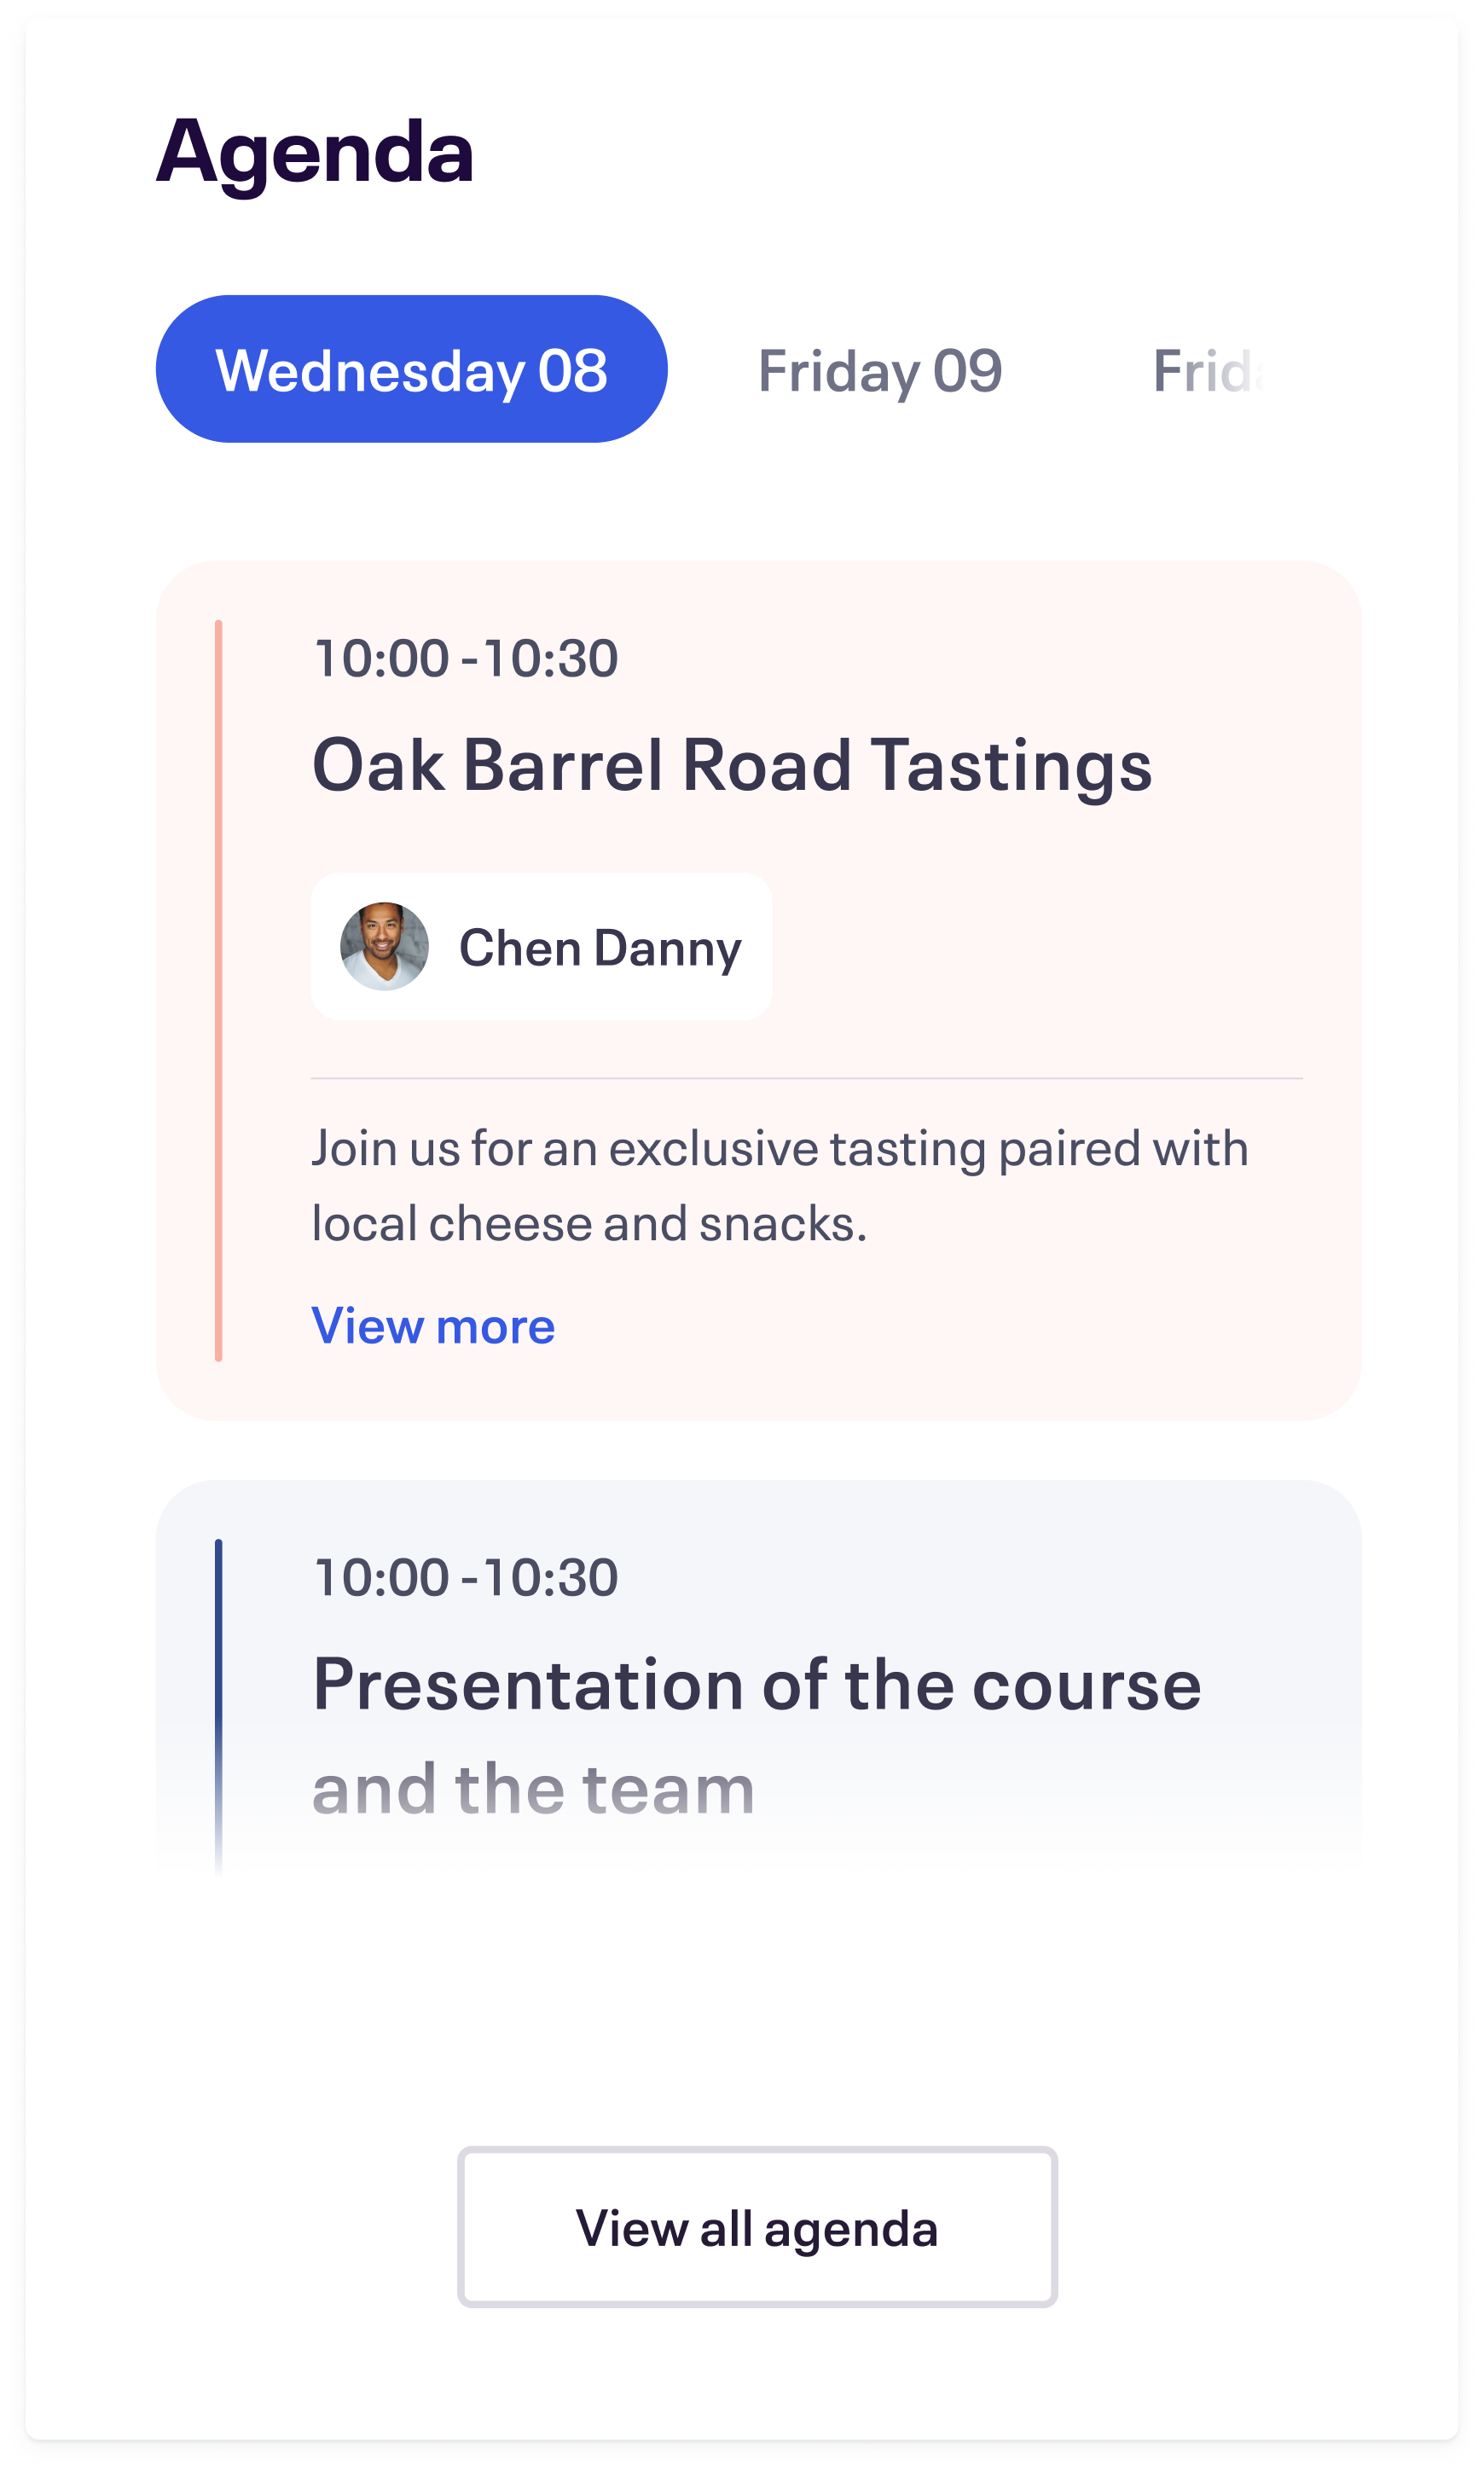
Include an agenda on your event page. An itinerary or schedule helps visitors know how your event is structured. We recommend this new section if your event has speakers, performers, or guides (don’t forget the headshots). You can include the time, a description of what will happen, and who will host.
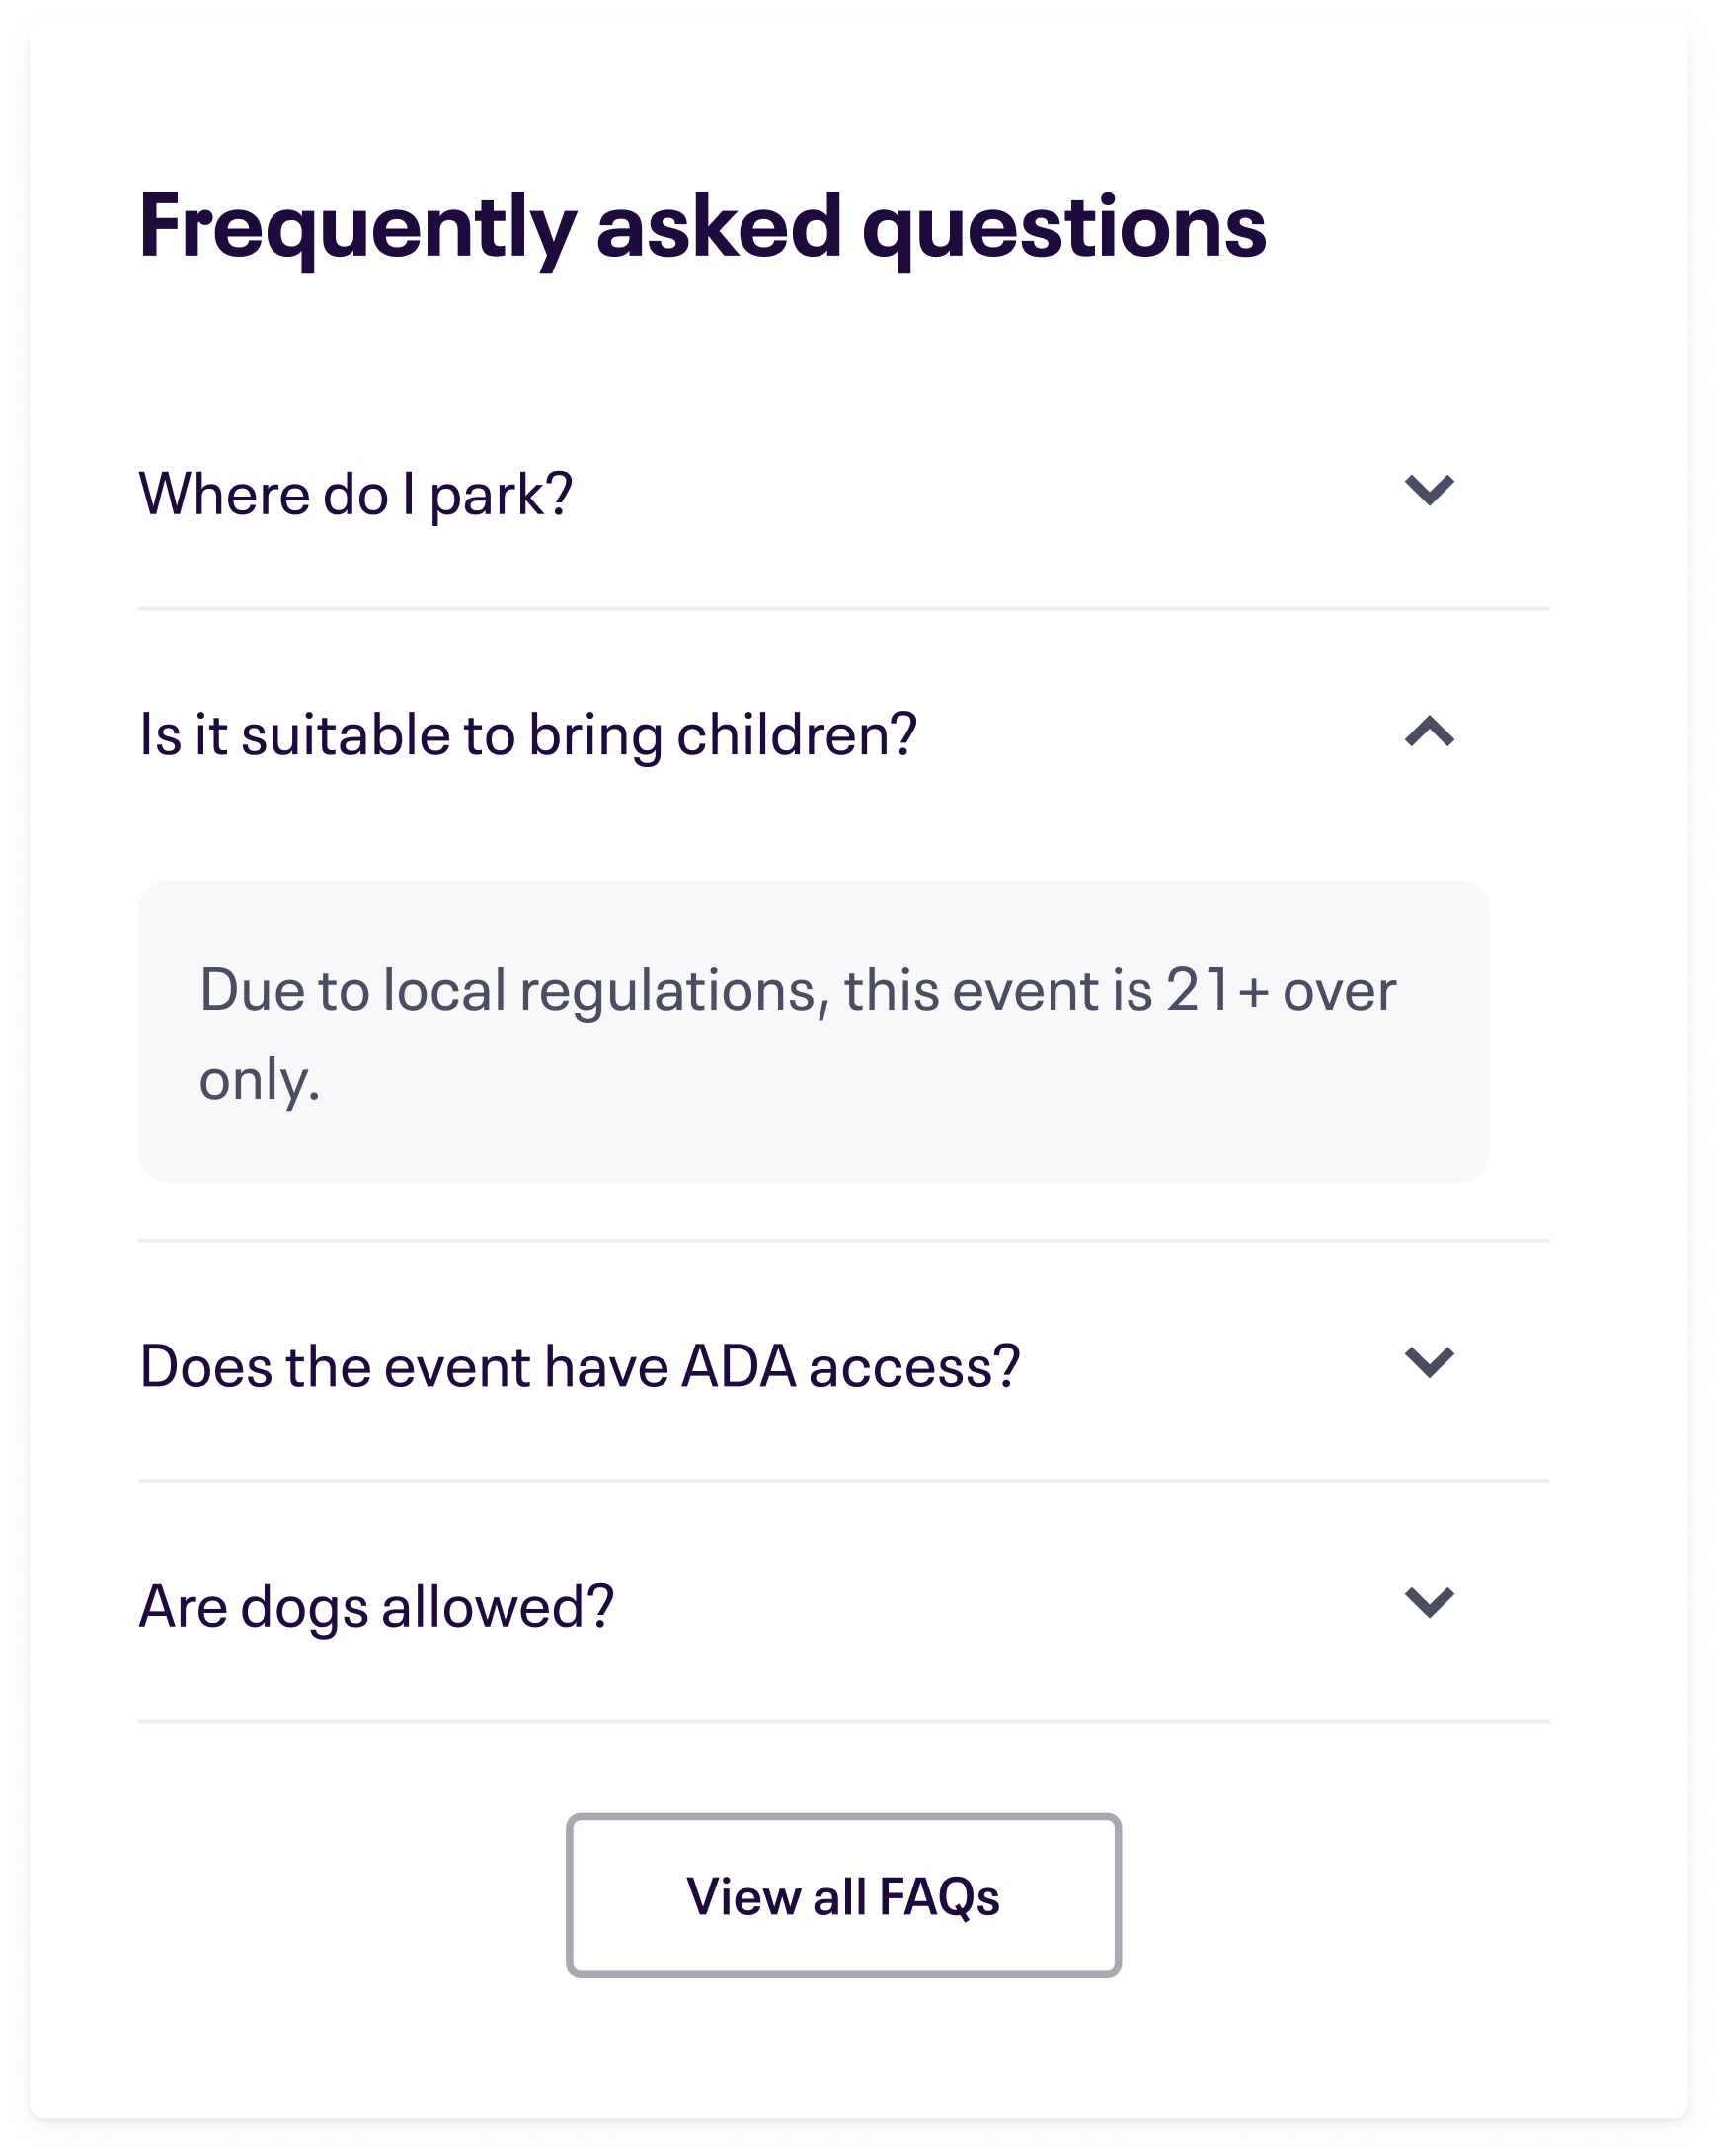
And don’t forget the FAQ. In the FAQ section, you can circumvent any questions visitors may have. Have answers about parking, accessibility, or your refund policy? Include them here so event-goers won’t run into any surprises.
10 steps for setting up a high-quality event listing that converts
1. Click “Create an event”.
2. Enter your event’s “Basic Info”.
- Give your event a clear, descriptive title — for example, Surfing 101 at Venice Beach, May 1.
- Name your event organizer (optional but useful for establishing a brand or managing multiple profiles).
- Select the type of event you’re planning (e.g., “Appearance or Signing,” “Conference,” “Festival or Fair,” “Other,” etc).
- Select the category of event you’re planning (e.g., “Charity & Causes,” “Fashion & Beauty,” “Food & Drink,” “Other,” etc).
- Tag your event with relevant keywords or search terms.
3. Enter your event’s location.
- Select whether the event will occur at an in-person venue or online (or if the location is TBD).
- If you select a venue, provide the address with the smart search function.
4. Enter your event’s date and time.
1. Tell event-goers when your event starts and ends. Select your timezone and language.
5. Provide a video or up to 10 main images to the top of your event page.
- Upload images from your computer or design a custom visual with our Canva integration.
- Link to videos from Vimeo or YouTube.
- Keep dimensions in mind. We recommend this image size: 2160 x 1080px, maximum file size, 10MB, JPEG or PNG.
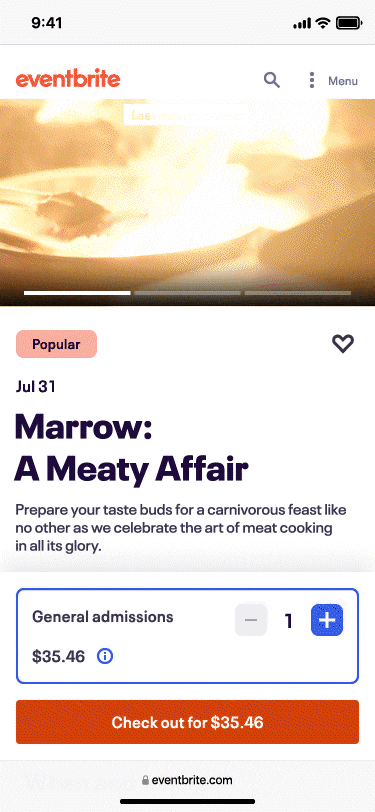
6. Give event-goers more details with a strong Summary.
- Grab attendees’ attention and let them know what to expect at your event. This text appears at the top of your event page.
7. Provide a Description.
- Give attendees more details. Include sponsorships, speaker bios, and anything else that would make your event irresistible.
8. Add an Agenda.
- Provide an itinerary or schedule to your event. You can include the start and end time, a description of what will happen, and who will host this part of the event, if applicable (e.g., speaker, performer, guide, etc.).
9. Add an FAQ section.
- Add a potential question your attendees might have.
- Provide an answer to that potential question.
- Repeat!
10. Review your event page, press save, and publish 👏!
Your event listing page is your event-goers’ path to purchasing tickets. Stand out from the crowd and grow your ticket sales with a stellar listing today.